Implementing and Automating Robust Backup and Retention Strategies using shell scripts.
In the digital age, where data is king, protecting valuable information against loss or corruption is paramount for businesses and individuals alike. Robust backup and retention strategies serve as the cornerstone of data protection, ensuring resilience and continuity in the face of unforeseen events. In this blog post, we'll explore how to implement such strategies using the versatile power of shell scripts, empowering organizations to safeguard their data assets effectively.
Understanding Backup and Retention Strategies:
Before diving into the technical details, let's clarify what backup and retention strategies entail:
Backup: A backup is a duplicate copy of data stored separately from the original source. It serves as a failsafe against data loss, enabling restoration in the event of hardware failures, software glitches, or other emergencies.
Retention: Retention refers to the management of backup archives over time. A retention policy dictates how long backup data should be retained before being purged, balancing the need for historical data with storage efficiency.
Leveraging Shell Scripts for Automation:
With the powerful combination of shell scripting and cron jobs, administrators can orchestrate seamless data protection strategies, ensuring the resilience and integrity of critical information.
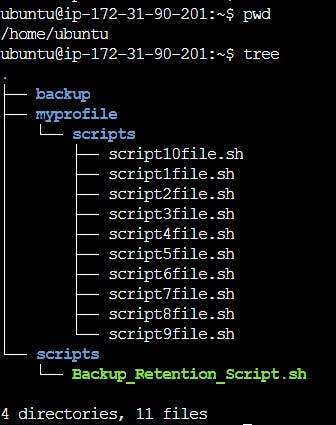
First of first! - Folder structure to follow

cd home/ubuntu
mkdir backup && mkdir -p myprofile/scripts && mkdir -p scripts/
touch myprofile/scripts/scripts{1..10}.sh
Write below script at location
scripts/Backup_Retention_Script.sh#!/bin/bash #set source and destination directory src_dir=/home/ubuntu/myprofile/scripts/*.sh target_dir=/home/ubuntu/backup current_time=$(date +"%Y-%m-%d-%H:%M") #Year-Month-Day-Hour:Minute backup_file=$target_dir/$current_time.tgz echo "Started Backup for $src_dir" tar -czvf $backup_file --absolute-names $src_dir echo "Backup Completed!" # Log backup activity echo "$(date): Backup completed successfully" >> /home/ubuntu/backup/backup_status.log-c: Create a new archive.-z: Compress the archive using gzip.-v: Verbose mode, showing progress during archiving.-f: Specify the filename of the archive
Delete files older than 30 days
# Delete files older than 30 days find $backup_file/*.tgz -mtime +30 -exec rm -rf {} \; # Log Retention activity echo "$(date): Old files deleted successfully" >> /home/ubuntu/backup/retention_status.logfind: the unix command for finding files / directories / links etc./path/to/base/dir: the directory to start your search in.-type d: only find directories-ctime +30: only consider the ones with modification time older than 30 days-exec ... \;: for each such result found, do the following command in...rm -rf {}: recursively force remove the directory; the{}part is where the find result gets substituted into from the previous part.
Make the Script Executable:
chmod u+x Backup_Retention_Script.shSchedule Backup and Retention Script Using Cron Job:
First, to use cron jobs, you'll need to check the status of the cron service. If cron is not installed, you can easily download it through the package manager
 sudo apt update
 sudo apt install cron
 sudo systemctl enable cron
 sudo systemctl status cron
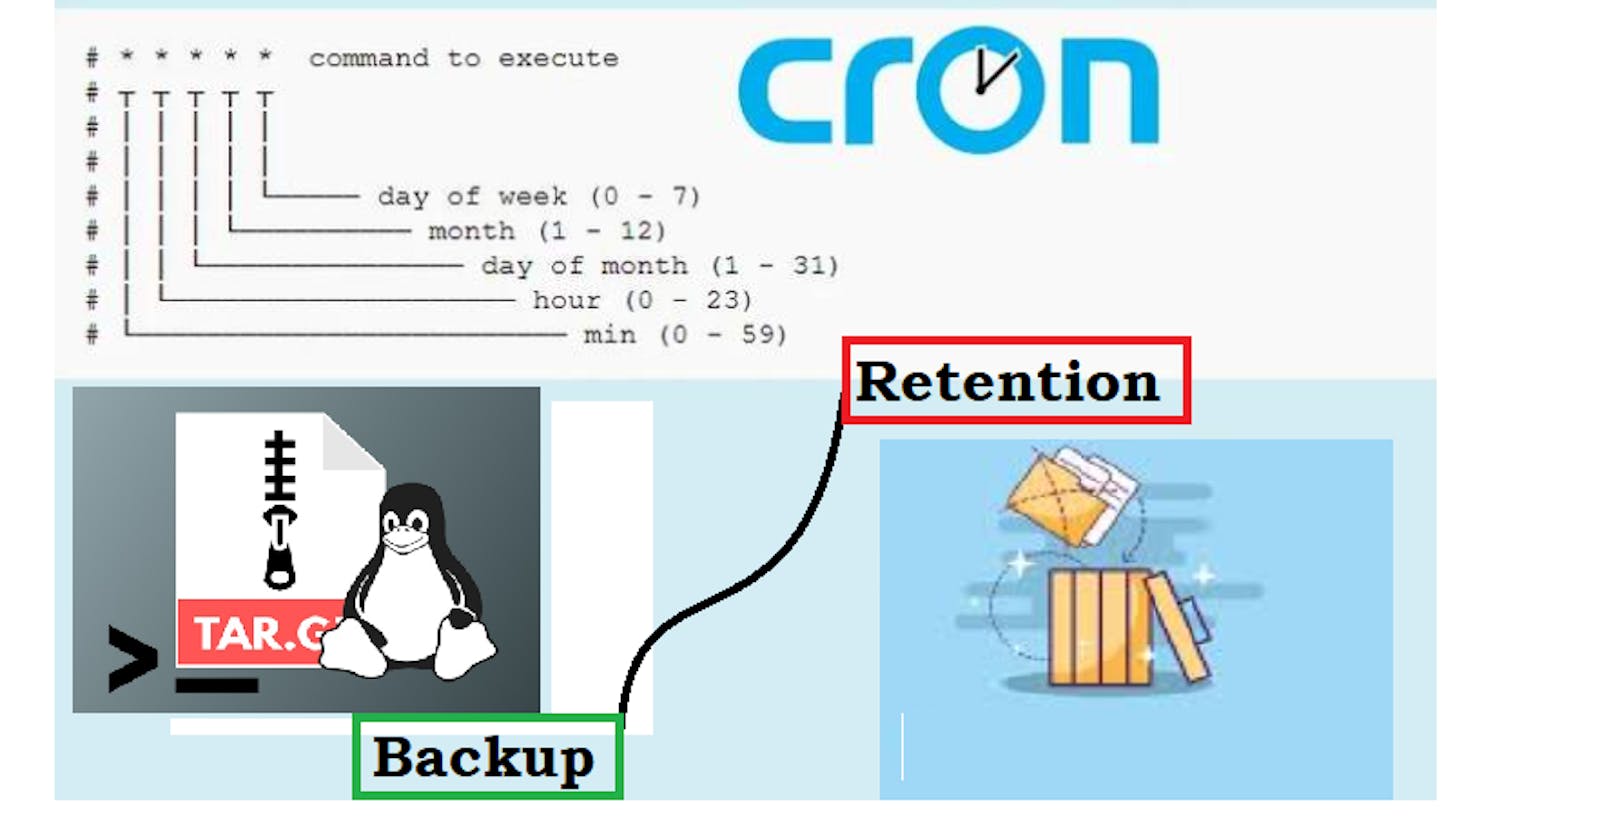
Below is the summary of the cron job syntax.
m h dom mon dow
Minute Hour Day of Month Month Day of Week
o-59 0-23 1-31 1-12 0-7 (0 and 7 both represent Sunday)
Cron job syntax
Crontabs use the following flags for adding and listing cron jobs.
crontab -e: edits crontab entries to add, delete, or edit cron jobs.crontab -l: list all the cron jobs for the current user.crontab -u username -l: list another user's crons.crontab -u username -e: edit another user's crons.
- Add the script in the crontab using
crontab -e.
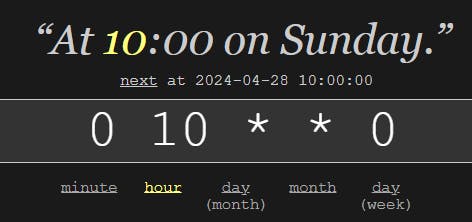
Here, we have scheduled it to run At 10:00 on Sunday.
0 10 * * 0 /home/ubuntu/scripts/Backup_Retention_Script.sh >> /home/ubuntu/scripts/cronoutput.txt

This cron job will execute the cleanup script every Sunday at 10 AM, ensuring that latest backup is taken and files older than 30 days are removed automatically.
Check the output of the file /var/log/backup.log. According to the script, the system date should be printed to this file every time the job runs.
So as to show as a demo, I have set cron job to run every minute and here is the output.

This script is fully functional and well tested!
How to Troubleshoot crons
Crons are really helpful, but they might not always work as intended. Fortunately, there are some effective methods you can use to troubleshoot them.
Check the schedule.
First, you can try verifying the schedule that's set for the cron. You can do that with the syntax -
crontab -lCheck cron logs First you need to check if the cron has run at the intended time or not. You can verify this from the cron logs located at
var/log/cron. In some distros, logs can be found at/var/log/syslogIf there is an entry in these logs at the correct time, it means the cron has run according to the schedule you set.
Redirect cron output to a file.
You can redirect a cron's output to a file and check the file for any possible errors.
# Redirect cron output to a file
* * * * * sh /path/to/script.sh &> var/log/cornjob_status_file.log
Wrapping up
Automating tasks, like with cron jobs, reduces the repetitive work you need to do. It also lets machines auto heal and work around the clock without human intervention.
Automation in Linux heavily relies on cron jobs, so you should definitely learn crons and experiment with them.
Thanks for spending your valuable time in learning to enhance your career!😃🙏
Follow me on
Hashnode: kshitijaa.hashnode.dev
LinkedIn: https://www.linkedin.com/in/kshitija-bartakke-malwade-39678b141/
