How to Access RDS from an EC2 Ubuntu Instance: A Step-by-Step Guide
Setting up and connecting various AWS services can be straightforward, yet sometimes it may seem like a daunting task. One common setup is accessing an RDS (Relational Database Service) instance from an EC2 (Elastic Compute Cloud) instance. In this guide, we will walk you through the process of connecting to an RDS database from an Ubuntu-based EC2 instance.
Prerequisites:
A running RDS instance.
Let's set it up!
Login to the AWS console and search RDS service, Go to Database and Select Create Database


Select Standard create to choose configuration options as requirements.

Choosing DB - MySQL and Engine Version. As we are practicing I'm choosing Feee Tire Template

Name your DB Instance and choose an auto-generated password.


Keeping Instance configuration as Default, and disabeling storage auto-scalaing.


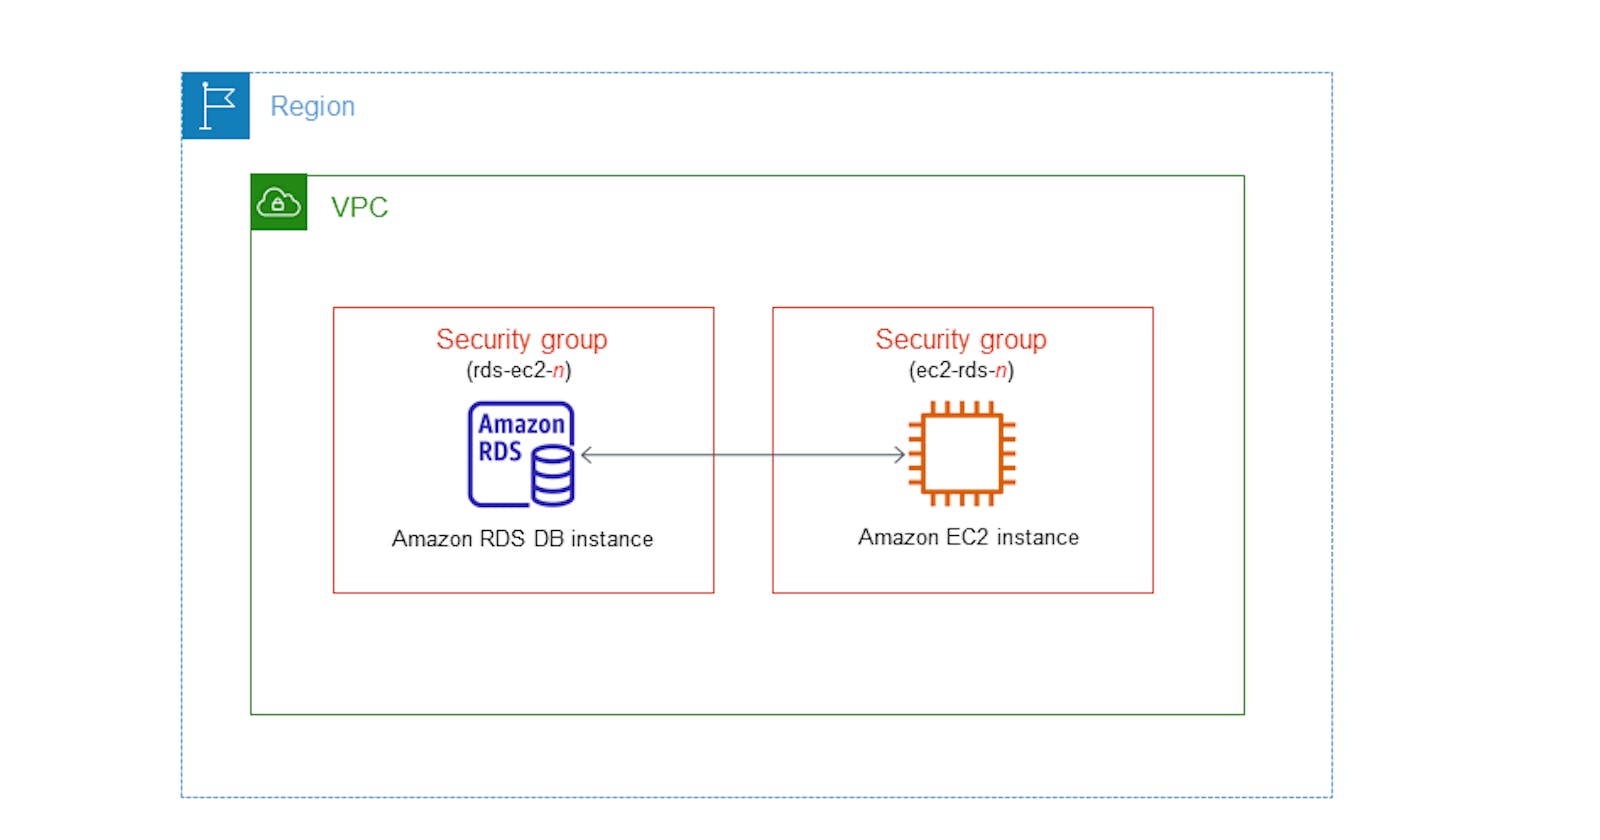
Connectivity - We are accessing our RDS from EC2 Instance; In compute resource : Connect to an EC2 compute resource. For that we are creating a new EC2 Instance.


Keeping all Network setting as per RDS's VPC, Subnet Group, Security group. (I'm keeping all as Default)
Our Instance is ready selecting it as mentioned below.

Keeping VPC security group as Default

Keep Database Port as 3306; although you can also change it.


After selecting as all mentioned above, click on Create Database!
BOOM! Your Database is ready getting created!

Your Database is up and running!
Get the password details and Endpoint and keep it safe.
Setup Security Groups:
Before you can access the RDS instance, you must ensure that your EC2 instance is allowed to connect to the RDS instance.
a. Navigate to the RDS Dashboard in AWS Management Console. b. Click on the desired RDS instance. c. Under the
Connectivity & Securitytab, note the security group. d. Navigate to the EC2 Dashboard and locate the security group associated with your RDS instance. e. Edit the inbound rules to allow TCP access on the port your database is running on (3306 for MySQL) from the IP or security group of your EC2 instance.
Install the necessary software on your EC2 instance:
Connect to your Ubuntu EC2 instance using SSH/Connect. Once connected, install the necessary client software depending on your RDS database type. For example, for MySQL:
 sudo apt update -y
 sudo apt-get install mysql-client -y
 mysql --version
Connect to your RDS instance:
Now that the client software is installed, you can connect to your RDS instance. For MySQL:
 mysql -h [RDS_ENDPOINT] -P [PORT] -u [USERNAME] -p
 show databases;
Able to connect. See the available databases using following command.
 create database kshitija;
 show databases;
See how it shows newly added database.
Troubleshooting:
If you're unable to connect:
Double-check the security group settings and ensure your EC2 instance is allowed.
Ensure that the RDS instance is set to allow public accessibility if they're not in the same VPC.
Check for any typos or misconfigurations in the connection string.
Look at the RDS instance logs for any connection-related errors.
Conclusion:
Connecting an EC2 instance to an RDS database in AWS is a straightforward process once you know the steps. The key is to ensure that the security groups are correctly configured, and you have the necessary client software installed on your EC2 instance. Once set up, this configuration allows for a scalable and robust application infrastructure within AWS.
